How to protect Google Chrome Browser with Password

Google Chrome is Most popular browser... I also use Google Chrome Browser.. It has so many features which makes browsing easy...We save the bookmarks and history in Google Chrome...For example if your relatives used same computer and same browser then they can know what you searched in the browser.. By the way we can delete the history... Some times it is not possible to delete the history. There is a solution for this problems to protect the Google Chrome with password...


Steps to protect Google Chrome Browser with Password


1. In order to protect the Google Chrome with Password , You need to add a simple extension called "Simple Startup password" in Google Chrome Browser...

2. You can add this  extension to the Google Chrome Browser from this link....download here


3. When ever you click on "Add To Chrome", Then a small pop up box opens asks about confirmation to add..Click on "Add"  button to add the extension into your browser...


4. Now this extension is installed in your Google Chrome after few seconds... Now go to the Settings in the Google Chrome...

5. Click on "Extensions " in the settings page... In the extensions find out "Simple Startup Password" extension and click on options in that...

6. When ever you click on "options" it will redirects to a new page and there it asks you the enter the password for start up of Google Chrome...

7. After entering the password in the box , click on save button to save the password...

8. Now when ever you open the Google Chrome again, It will asks you the password to open the "Google Chrome"...

How to know time of any place by using Google Search

Steps to know time of any place by using Google Search


 In order to know time of any place in Google search,  You need to type "What time is it + Country + Place to know the time...

For example if you want to know the exact time of Hyderabad place in India, Then you need to type in Google search like this

" What time is it India Hyderabad"(Without double quotes").....

IF You Like My Post Then Comment Us Here....

How to combine and convert two or more video files into one video file

Some times we want to combine or merge the two or more  video files into one video file.. For example if we downloaded two videos from YouTube in FLV format and we want to merge or join these two or more video  files into one video file in  another format(Ex: AVI format). This can be possible by a free software called "Freemore Audio Video Suite"...


Steps to combine and convert two video files into one video file


1. Download the "Freemore Audio Video Suite " Software from the given link 


2. This free software offers various features compared to other paid softwares. Once check the features of this website in the given image...


3. Here i will explain how to join the two or more video files into one video file of another format....

4. After completion of downloading the software, install in your system.. Now double click on "Freemore AudioVideo Suite" icon on the desktop....

5. Now select "DVD & Video" Tab in the "Freemore Audio Video Suite "... In that click on "Free Video joiner" to join two or more  video files....

6.Whenever you click on "Free video joiner " a new window opens in that you need to add the videos you want to join by clicking on "Add files"


7. After adding files click on Next button.., After that it will ask you to select the format of the video file , Here you can select other video format also which is not same as the Source videofiles... For example if you download the two videos in flv format from You tube and you can join and convert it into other format(Ex: Avi format or any other )...


8. After selecting the video format , Then click on join now to join or merge two or more video files ... Now it will take some time to join the files...


9. After completion of the process it will informs that " Freemore AudioVideo joiner " has finished the conversion,,....

How to automatically delete the temporary files in windows

In our system, there are many temporary files are created and placed in temporary folders.Which occupies more space in hard disk. If we don't delete the temporary files then it causes the system to run slowly. We can delete this temporary files manually by going into temporary folder with the help of Run box and typing %temp% and temp there...

We don't have the time to delete the files manually by going into temporary folder. We can delete those files automatically whenever they are created by windows operating system...

Steps to automatically delete the temporary files in windows


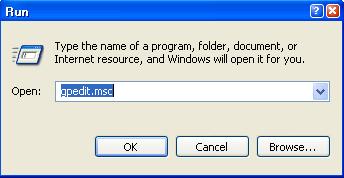
1. Go to Run box by Start Menu>Run(Win+R) and type "gpedit.msc"(without double quotes) in run box....

2. Now in the Computer Configuration, double click on "Administrative Templates">Windows Components>Terminal Services > Temporary Folder..

3. Now right click on "Do not delete temporary folders on exit" in the Temporary folder settings and select properties and click on "Disable" after that click on OK..

4. From now on wards whenever file is created in temporary folder it will be automatically deleted....


How to Verify an E-mail Address is Valid or not before sending

Some times we want to check the E-Mail address is valid or not before sending the mail to that address... Instead of sending the mail to unverified E-mail addresses, There are various web services that provides the service to check whether the given E-mail address is valid or not............


Steps to Verify an E-Mail Address is Valid or not before sending


1. Open the following website by clicking on this link... http://verify-email.org/

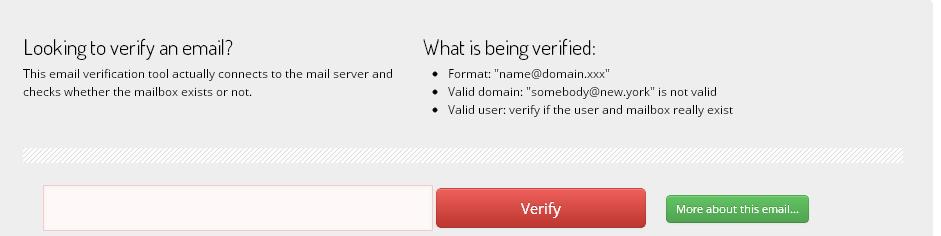
2.This web service actually connects to mail server and checks whether the mail exists or not....

3. Now you need to type the E-mail address want to check in the box and click on Verify button...


4 Now it connects to the mail server and checks for the mail, It takes some time to process this...


5.After that if the result is "OK" then the given E-mail address is valid .. If the result is " Bad" then the given E-mail address is not valid....


how to find out the identity of an unknown caller using truecaller

       If you are getting calls from unknown persons want to know the names of them. We can know the names of unknown callers by using a web service called "True Caller".. True Caller is a global telephone directory developed by private company in Sweden. It provides free and accurate number search and caller id all over the world....


Steps to Find Out The Identity of an unknown Caller using True Caller


1. Go to "True caller" website by clicking on this link...http://www.truecaller.com/

2. There you can see the " Enter Phone Number" box, Type the number of unknown person and click "Enter"...

3. When ever you click on Enter, You will be redirected to a new page in that you will get all the details of the unknown caller...

4. We can run this application in our mobiles also..It is available for many platforms such as Android,IOS,Windows and Symbian..........

5. In order to download the application into your mobile phone go to m.truecaller.com and click on download...


6. Once you install this application into your phone, This application runs in the background. Whenever call comes from unknown persons then the true caller gives you the name of the unknown person...


Comment us ...........


How to design web banners easily by using EximiousSoft Banner Maker

Steps to design web banners easily by using EximiousSoft Banner Maker


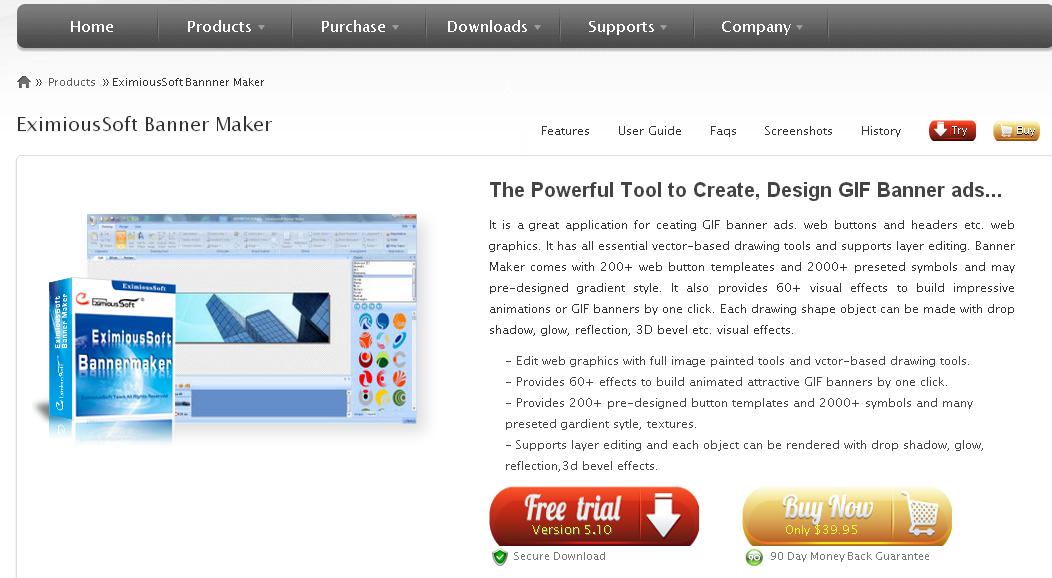
1. Download the "Eximious Soft Banner Maker" Software from this link http://www.eximioussoft.com/bannermaker.html

2.Install the software in your PC after completion of download , Now run the software....

3.In order to create a banner or button with "EximiousSoft Banner Maker" you need to click on New or CTRL+N shortcut..

4. Now select a banner from "Select a category" and select standard from "Common web graphic size... You can select anything depending upon your need,If you want to design facebook cover select "Facebook cover" from the "Common Web Graphic Size. Here iam selecting the standard to make banner and click on "OK...

5.If you want to write the text in the banner , Then select the banner with mouse and click on "Add Text" from the "Drawing tool box"...


6. Now write the text and click on "Ok"..


7. After that click on "Effects". Select any Effect from the Effect list....and click on "Ok--> Add to Animation" Button....


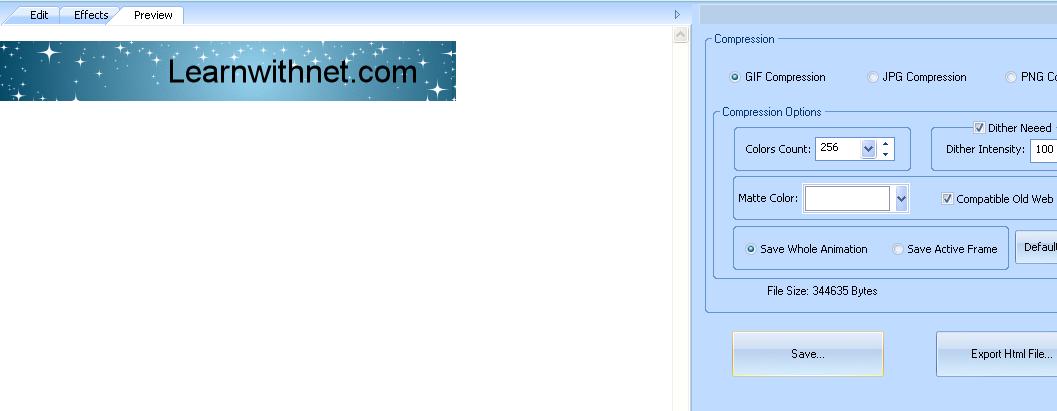
8. At last click on "Preview" Button  and save the banner in JPEG or PNG or GIF format... Give the Location to save,,,,


How to Change the Company information in windows XP

   
1.  Whenever you install windows XP operating system , The setup will asks you about the company information such as Your name and Organization name..If you want to check this information, Right click on My computer >Select properties >Select General tab....


2. You can fix this problem by own or you can download the patch from Microsoft to solve this problem... click on "Fix It" to download the patch from the Microsoft... Click Here to download


3.If you want to solve the problem by your own.. You can do this by using Registry editor, For that go to Start>Run>type regedit(or win+R shortcut)...


4. Now locate this HKEY_LOCAL_MACHINE>SOFTWARE>MICROSOFT>WINDOWS NT>CURRENT VERSION


5. There you can see the two strings named "Registered Organization" and "Registered Owner" ,Change the values of those strings to change the company information..

6. To change the Company name, Right click on "Registered Organization ">click on Modify and change the value data into your company name and click on OK...


7. In order to change the name of the owner, Right click on "Registered Owner">Click on Modify and change the value data into registered owner name and click on OK.


7. Now close the "Registry Editor" and check the modified information in the "General " Tab of system properties...